Slackify
Because keyboards are better than mice.

Slackify is a command line tool for uploading files from your workspace, or piping standard input, to Slack. I've found myself frequently doing these things by hand. Whether it was copying console output, or dragging files, as a developer I don't want to deal with the GUI when what I want to share is right there in the console. If I can just pipe my output into Slack, I'll be happy for the day.
Bringing Slack to the CLI
You've got a file, filename, and you want to share it on channel, channelname.
slackify filename channelname
Piping output from other calls to Slack is just as easy.
ps -a | slackify channelname
This will take the output from ps (process status) and share it on Slack as a snippet.
Get Started
To use Slackify, we'll need to do three things:
- Install Slackify globally
- Create an access token
- Add the access token to an environment variable (optional)
Installing Slackify
Slackify is an npm module. Install Slackify globally by npm install -g slackify.
You'll then be able to access it from the CLI, slackify --version.
Create an Access Token
Slackify needs a way to communicate to your Slack team. It uses an access token to utilize Slack's file upload API.
The easiest way to get an access token is from their developer token generator https://api.slack.com/docs/oauth-test-tokens.
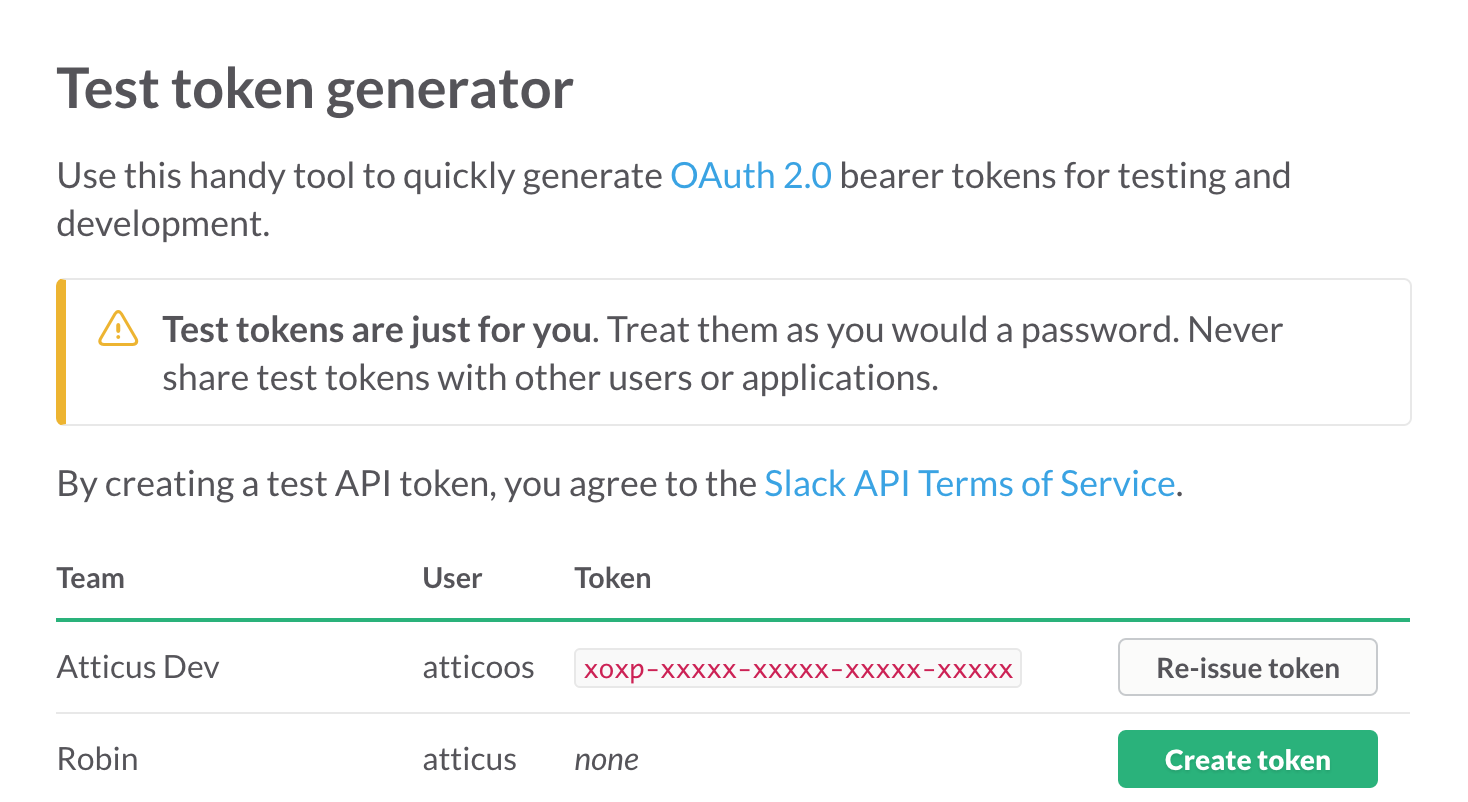
Choose the team you want to use Slackify with and hit "Create token". You can also create a Bot user at yourorganization.slack.com/services/new/bot.
Environment Variables
Now that you have your token, you'll set up an environment variable. Add the following to your .bashrc (or whatever dotfile file you use):
export SLACKIFY_TOKEN=xxxx-xxxxxxx-xxxxxxx-xxxxxx-xxxxxx
To make sure this environment variable is active, source your dotfile source ~/.bashrc.
If you'd like to avoid using an environment variable, you can use the --token flag
slackify filename channelname --token xxxx-xxxxxxx-xxxxxxx-xxxxxx-xxxxxx
Now you're ready to start piping content to Slack!
Using Slackify
Let's take a look at some of the things you can do with slackify.
> slackify --help

  Usage: slackify [options] [file] [channel]

  Options:

    -h, --help              output usage information
    -V, --version           output the version number
    -m --message <message>  a comment to add to the file
    -u --user <user>        the user to send the file to
    -l --lines <l1>..<l2>   upload specific lines in a file
    -t --token <token>      slack token
    -tl --tail <tail>       tail of a file
Channels and Users
Slackify is setup to make uploading content to channels easy. However, you can send content to a user by specifying the -u or --user flag.
slackify filename -u username
If you want to send to a channel, you just use the second argument slackify filename channelname.
File splitting
Sending an entire file can sometimes be unnecessary, or even a burden if it's large enough. --lines and --tail flags can help here.
slackify --lines 10..20 filename channelname will send lines 10 through 20 from the file to Slack.
slackify --tail 50 filename channelname will send the last 50 lines of a file to Slack. This is especially useful for log files.
Comments
A comment be added to the uploaded file with the --message or -m flag.
slackify filename -m 'my comment'
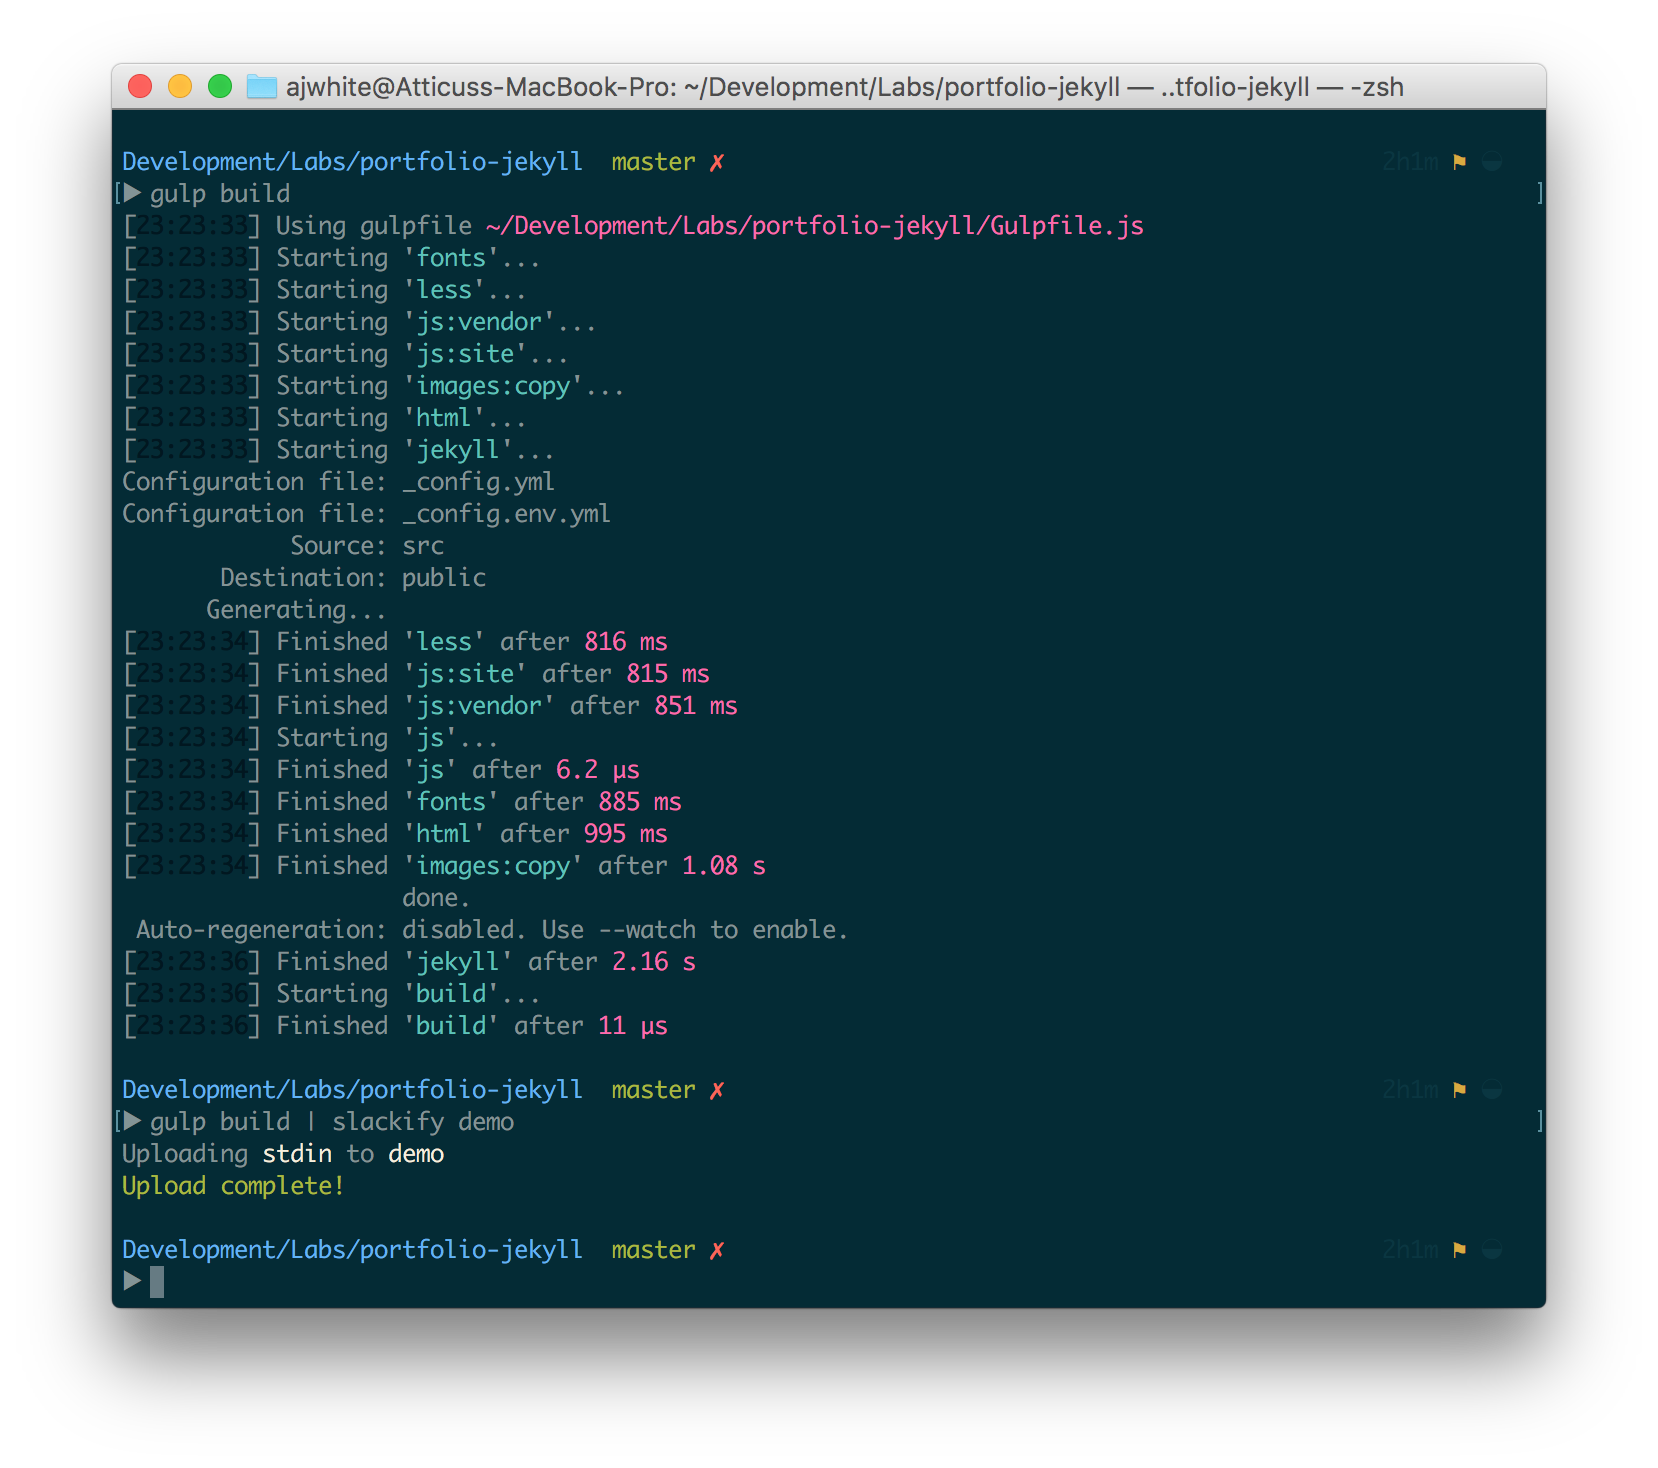
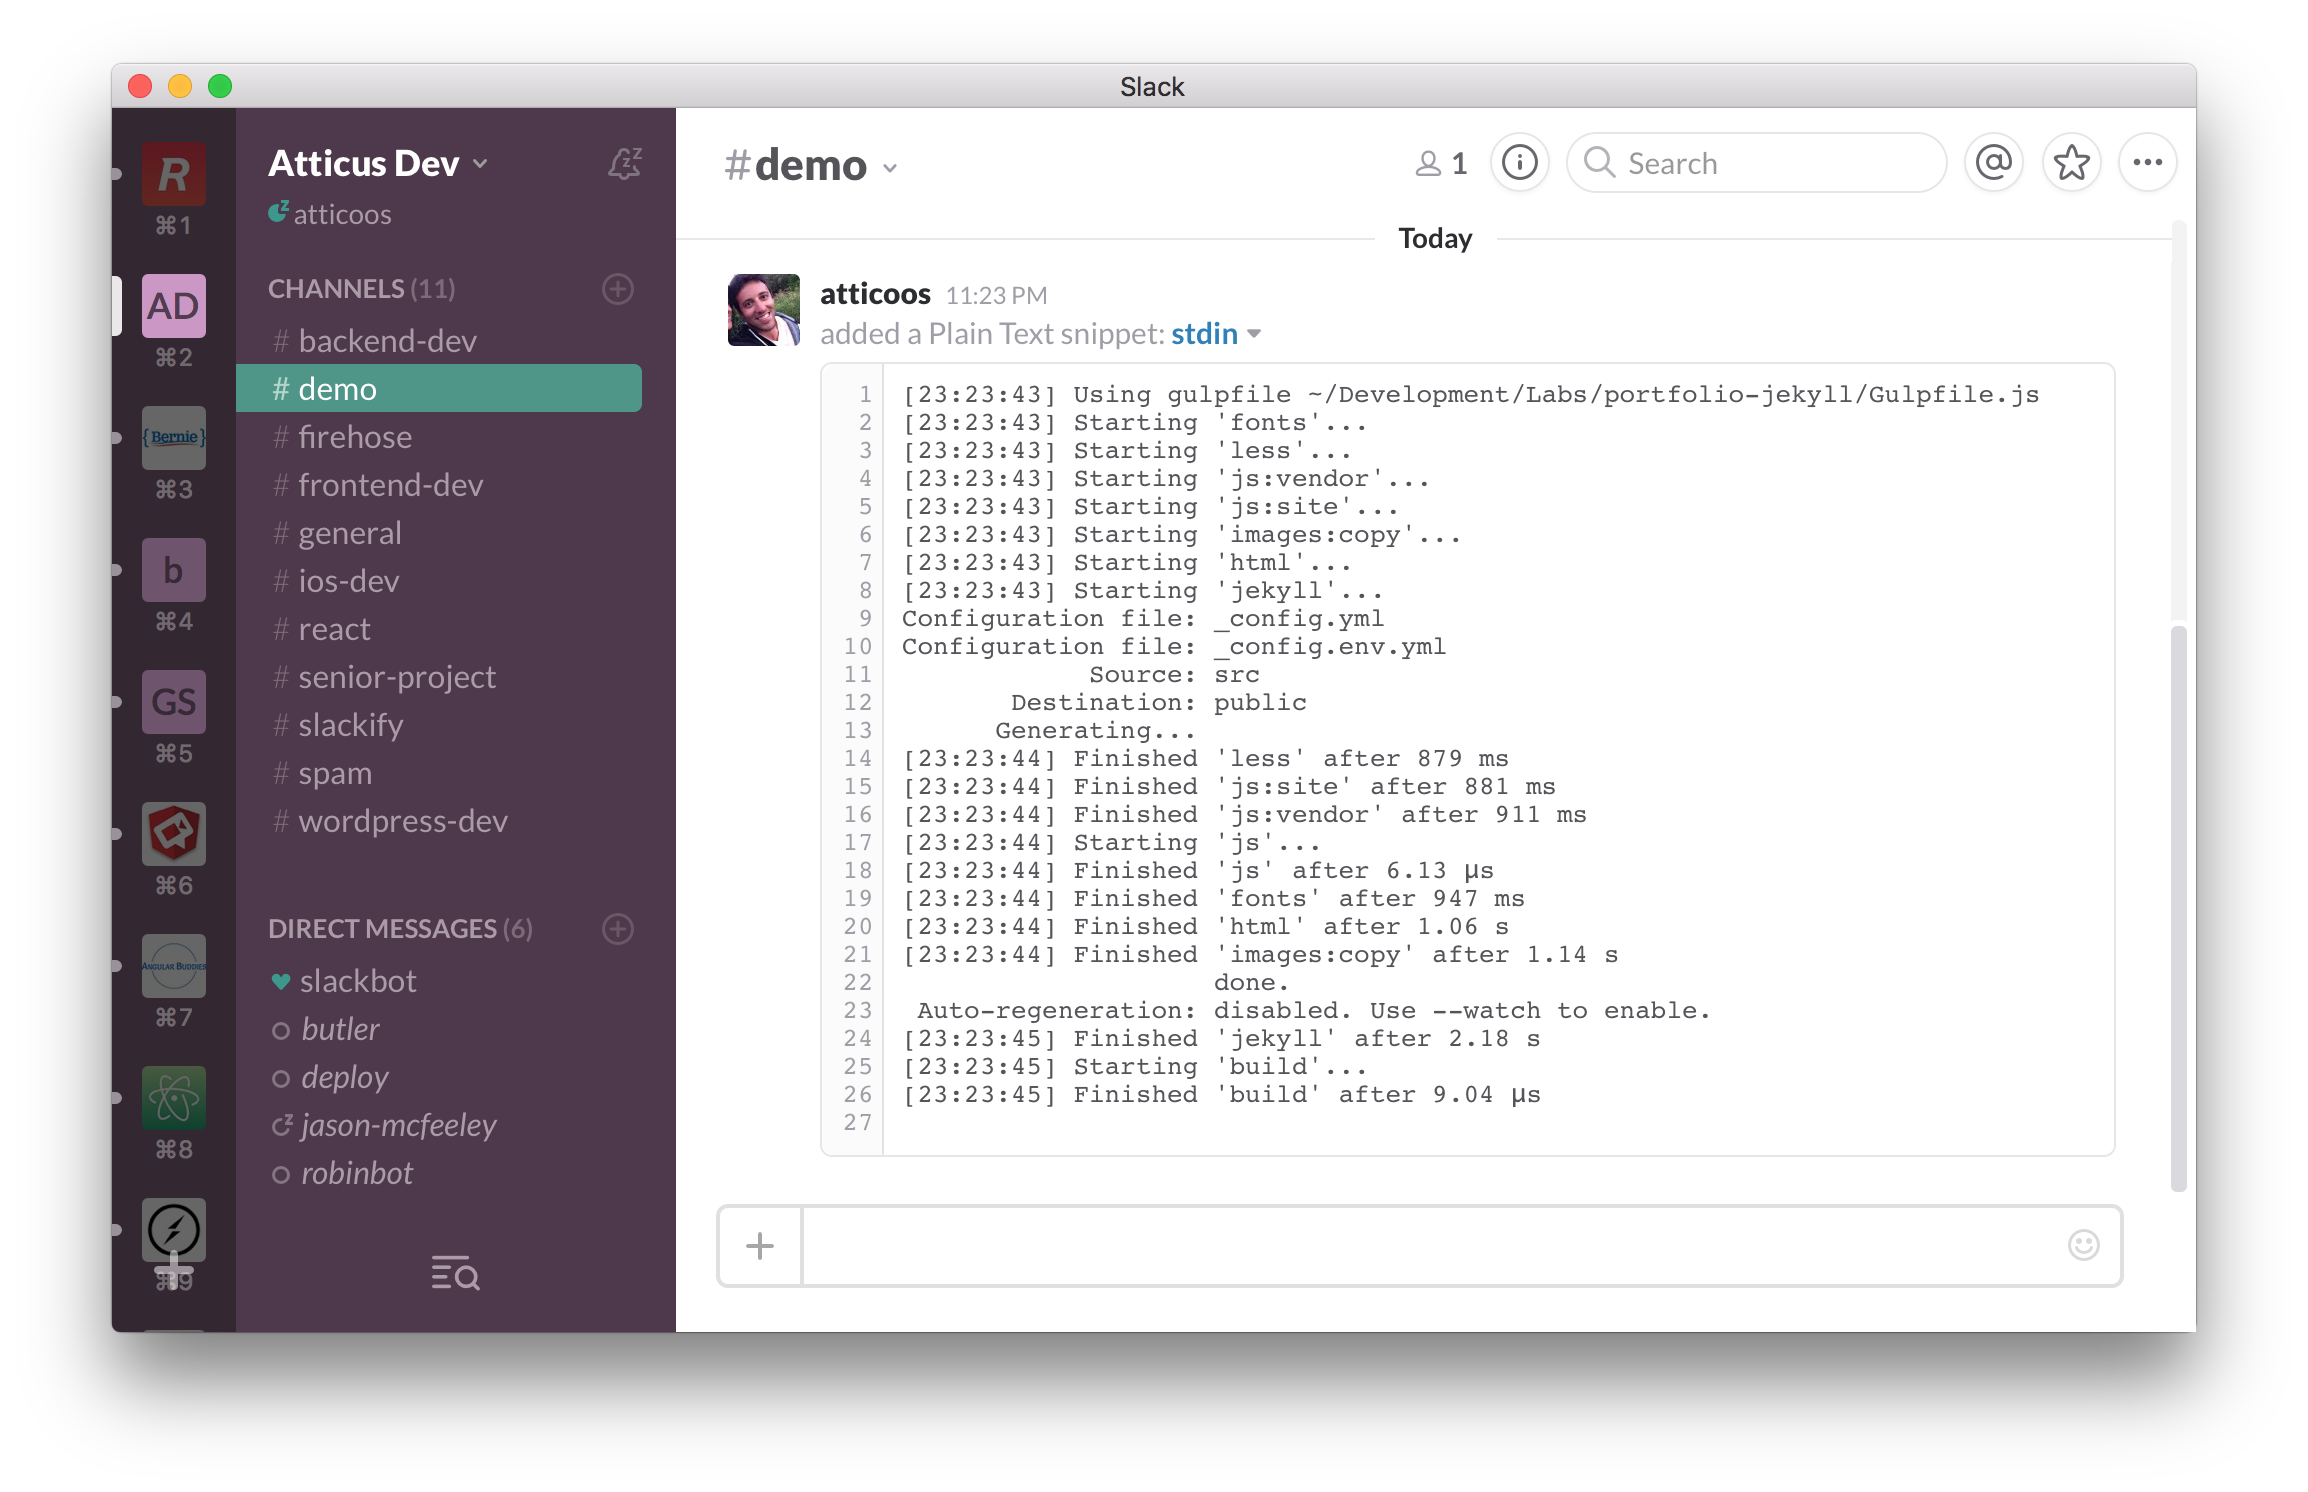
Piping Standard Input
My favorite feature of Slackify. Every now and then I'll get a question from someone on the team why their build script failed (ahem, @ghanbak). It's usually because of a missing dependency or something trivial, but it always helps to see their output. Say the problem occurred when running gulp build. I can now ask my team member to simply run gulp build | slackify -u atticus, and I'll see the output they received. Simple.
If Slackify is something you'd like to install or contribute to, you can find it on github.com/ajwhite/slackify.